Visual Struts development tutorial using MyEclipse
This
tutorial explains the visual Struts development with the integrated
struts config design mode of the MyEclipse enterprise workbench. We
will show this really nice feature in details.
The tutorial
concentrates on the design mode and do not include any source code.
Generals
Author:
Sascha Wolski
Sebastian Hennebrueder
http://www.laliluna.de/tutorials.htmlDate: January, 25 2005
Development
Tools
Eclipse 3.x
MyEclipse plugin 3.8
(A cheap and quite powerful Extension to Eclipse to develop Web Applications and EJB (J2EE) Applications. I think that there is a test version availalable at MyEclipse.)
PDF Version des Tutorials
http://www.laliluna.de/assets/tutorials/myeclipse-visual-struts-development-tutorial-en.pdf
Create a new web project
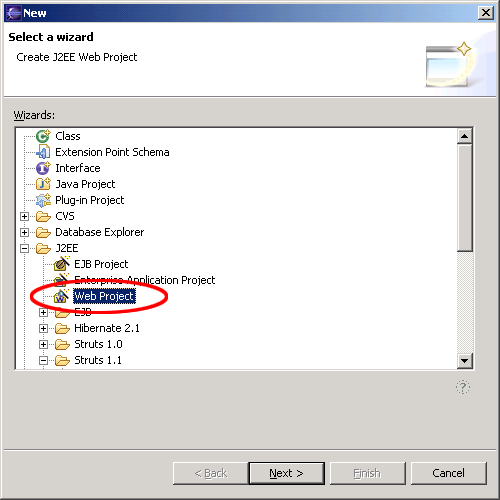
Create a new web project (File > New > Project)
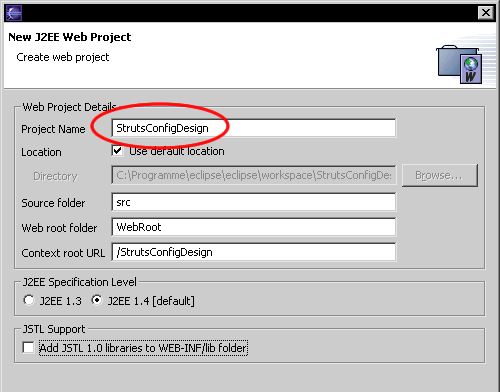
Set
a nice name.
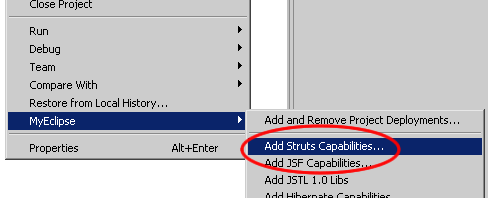
Add the Struts capabilities. Right mouse button on the project > MyEclipse > Add Struts Capabilities.
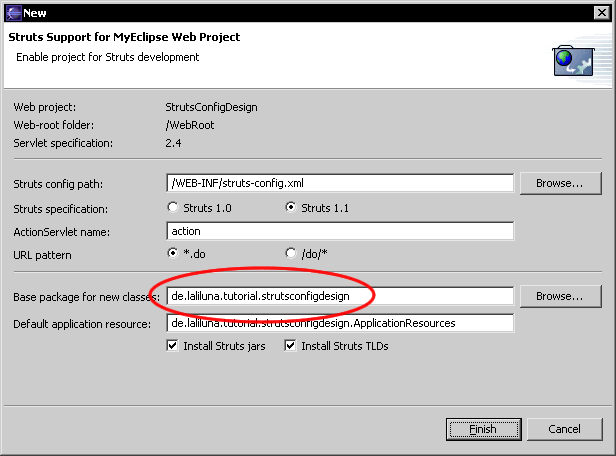
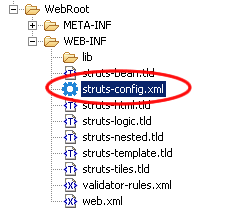
Open
the struts-config.xml in the folder WEB-INF.
Struts config design mode
After opening the struts-config.xml, you find two options at the lower left edge of the editor window, Source and Design.

Click on Design to activate the design mode.
The design palette
By Default the design palette is minimized and not easy to find. If the design mode is activated you will find it at the right outside edge of the editor window. Click on the small black arrow to maximize the palette.


At first sight you find well-known symbols, there are known from the outline window. The palette offers the following options:
-
Select - to select elements in the design mode
-
Marquee - to mark an area in the design mode
-
Action - to add an action
-
Forward - to add a global forward
-
Connection - to add a connection (forward)
-
JSP ? to add a jsp file
-
HTML ? to add a html file
-
XML ? to add a xml file
You will recognize that not all elements of a Struts config file appear in the design palette. Some element can only be chosen by using the context menu of the design editor. Right mouse button in the design editor and you will found all possible elements of a Struts config file.
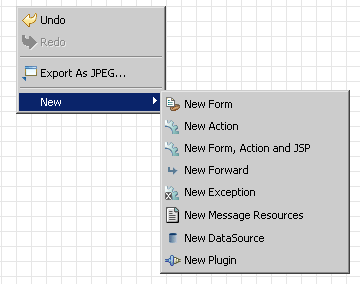
Create the example workflow
Action Mapping
Choose the symbol Action of the palette and than click in the editor window. It opens the wizard to create an action mapping. Set the use case to ?bookList?
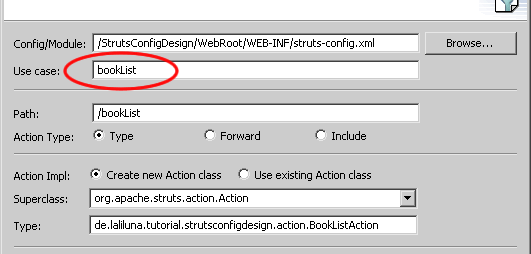
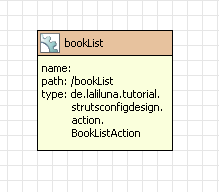
After creating the action mapping, you will find a graphic, that illustrate the action mapping, in the editor window. It shows some informations, like name, path and type. Double-Click on an item in the design mode will open the source file (class, jsp, etc) in the editor.
JSP file
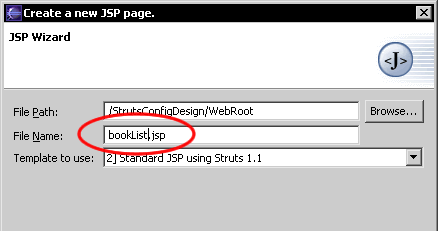
Choose the symbol to create a jsp file and click in the editor window. It opens the wizard to create a jsp file. Set the file name to ?bookList.jsp?.
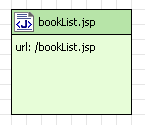
You find also a graphic symbol that illustrate the jsp file.
Connection
With the connection symbol of the design palette it is possible to set connections between the elements. Connect the action mapping ?bookList? with the jsp ?bookList.jsp? by pulling from one element to the other. It opens a wizard to add an action forward forwards to the jsp file.
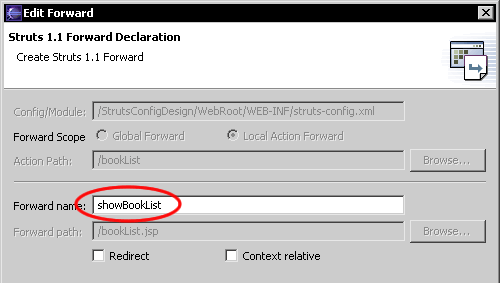
In the editor window you see which element is connected to another.

Global forward
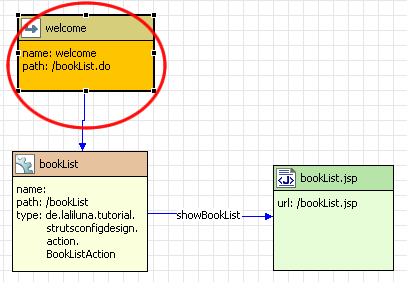
In the next step add a global forward, which forwards to the action mapping ?bookList?. It is impossible to forward to a global foward using the wizard when the target does not exist. Create the global forward first. (in your case the action mapping ?bookList?)
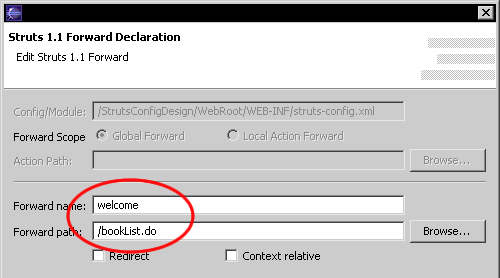
In the editor window you will see the new forward. The connection is created by the wizard.
Summary
Despite some weaknesses the advantages of the design mode from the Struts config file are obvious. Working is facilitated and represented visually, that improves the comprehensibility of the Work flows substantially. The design mode is a really good alternative to conventional working with the struts config.xml.